- 20 Free Crochet Slouchy Hat Pattern For Winter
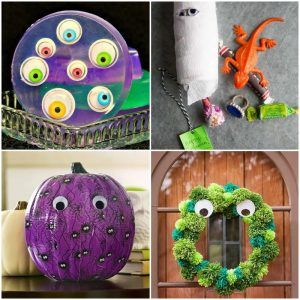
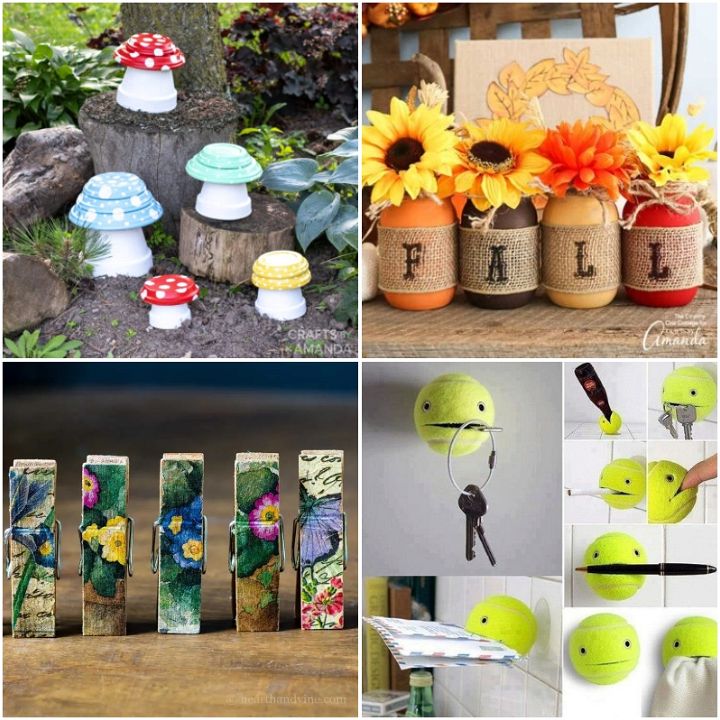
- 22 DIY Googly Eye Crafts and Projects
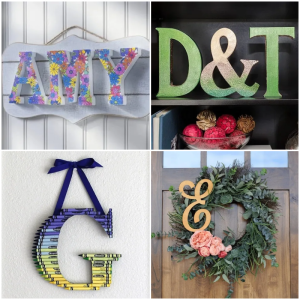
- 20 DIY Wood Letters Crafts
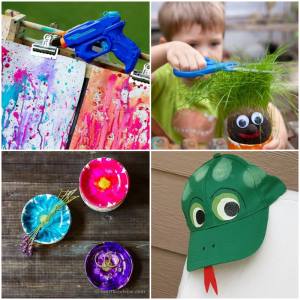
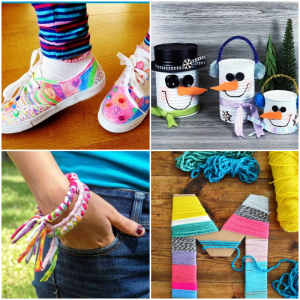
- 20 DIY Cool Crafts for Kids
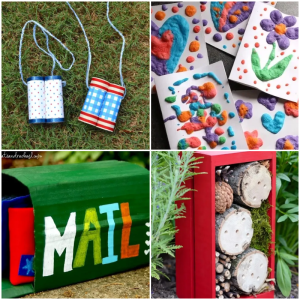
- 22 DIY Fun Crafts For Kids Simple And Easy
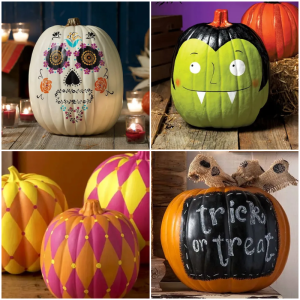
- 22 DIY Painted Pumpkins Colorful Ideas
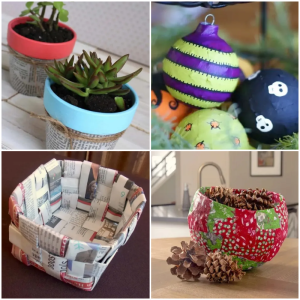
- 26 DIY Newspaper Crafts And Projects
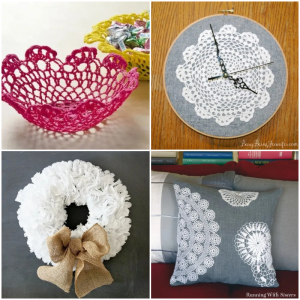
- 20 DIY Doily Crafts For Beginners
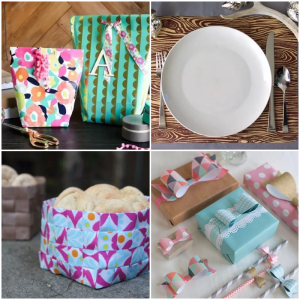
- 25 DIY Wrapping Paper Crafts Ideas
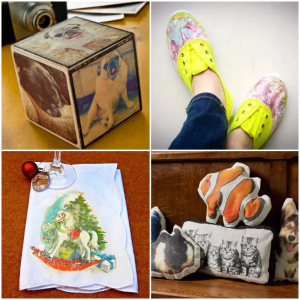
- 17 Mod Podge Photo Transfer Crafts
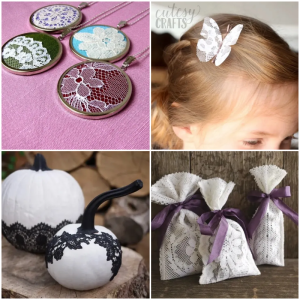
- 20 Best DIY Lace Crafts And Projects
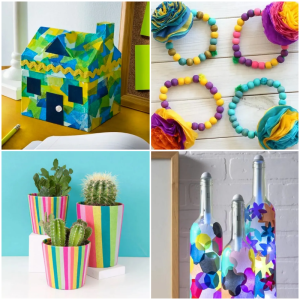
- 36 DIY Tissue Paper Crafts Ideas
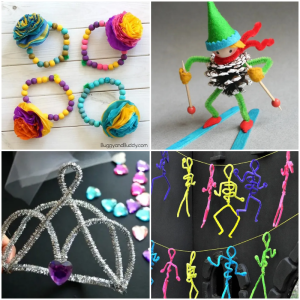
- 24 DIY Pipe Cleaner Crafts Kids
- 31 Crafts Kits For Teenagers Easiest Projects
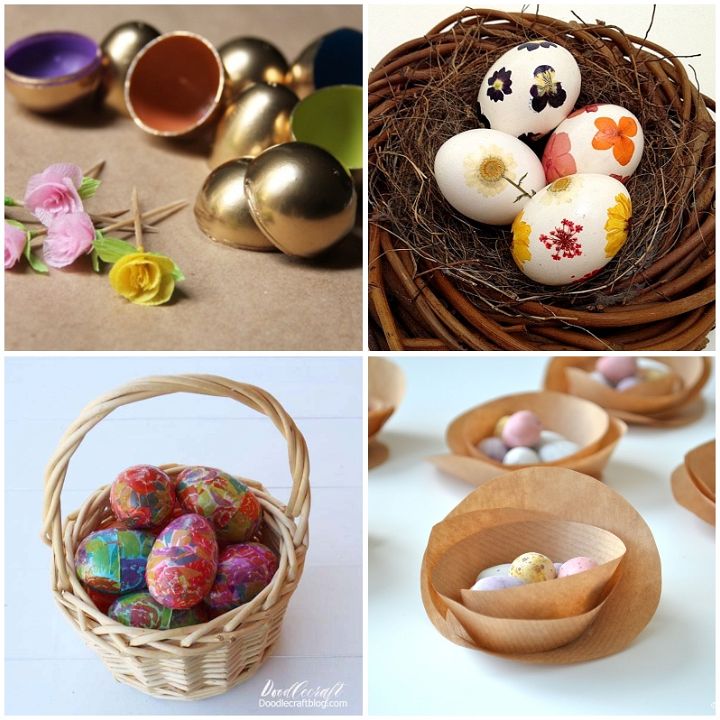
- 24 DIY Paper Flower Eggs To Make A Busy Day
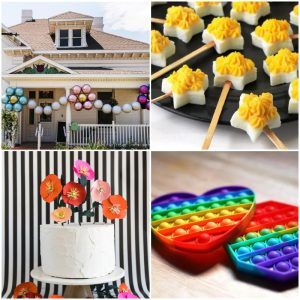
- 30 Pop it Party ideas For Kid’s
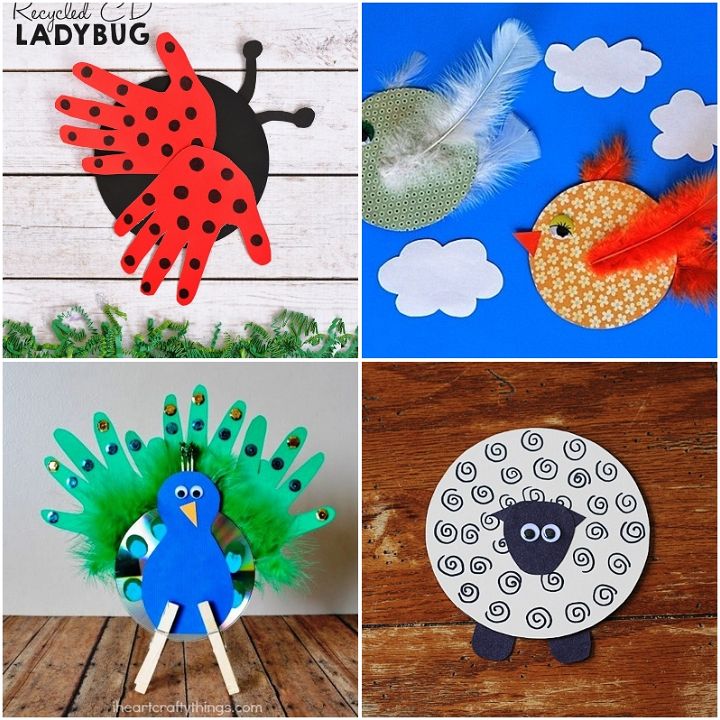
- 25 Recycled CD Crafts You Can Do It Yourself
- 22 DIY Party Crafts Festive Celebration
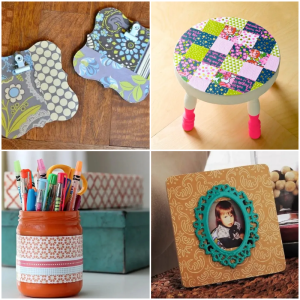
- 34 DIY Scrapbook Paper Crafts & Creative
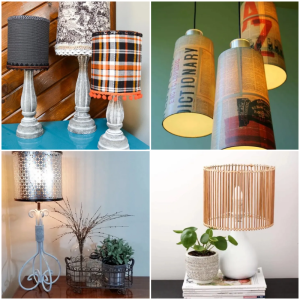
- 30 Fun & Inexpensive DIY Lampshade Ideas
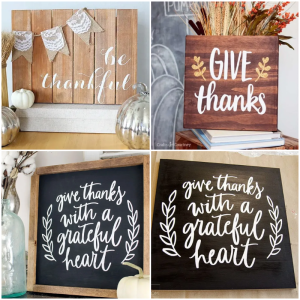
- 22 DIY Thanksgiving Sign Crafts & Projects
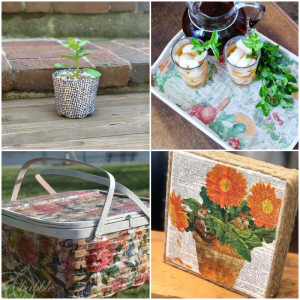
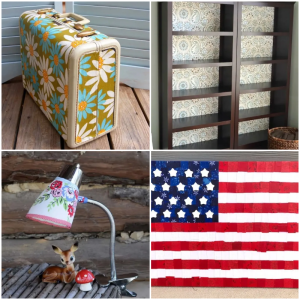
- 20 DIY Mod Podge Napkin Decoupage Ideas
- 20 DIY No Sew Fabric Craft Project Ideas
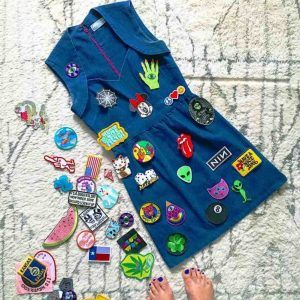
- 10 Creative DIY Patch Ideas to Upgrade Your Clothes
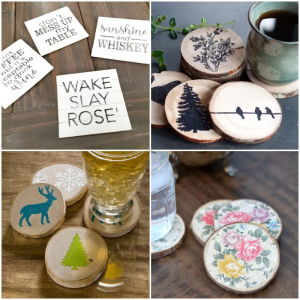
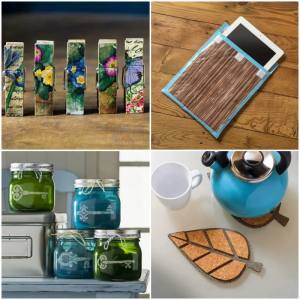
- 24 DIY Coasters – Rustic Charm Coasters
- 18 DIY Great Ideas to Try Best Crafts
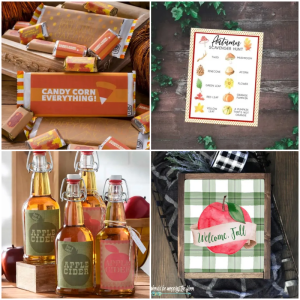
- 20 DIY Free Fall Printable Ideas
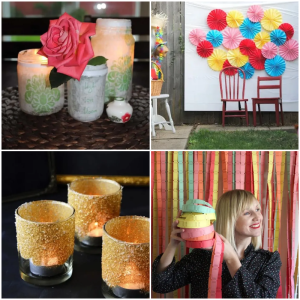
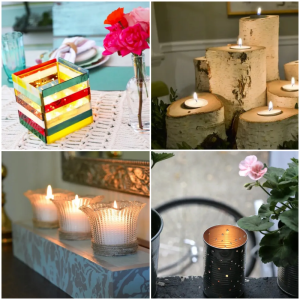
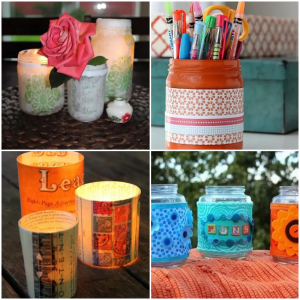
- 22 DIY Candle Holders For Crafters
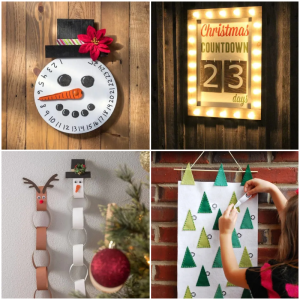
- 28 DIY Advent Calendar Ideas That Are Perfect
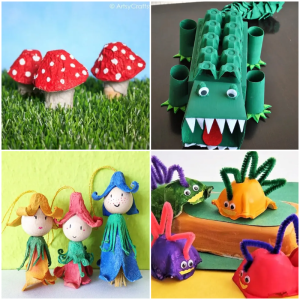
- 22 DIY Egg Carton Crafts For Summer Activities
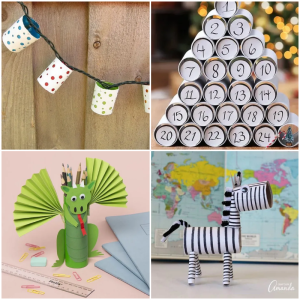
- 22 DIY Paper Towel Roll Crafts
- 20 DIY Boredom Busters For Kids
- 20 Recycled Crafts That Are Very Useful
- 14 DIY Crafts for Home Cheap And Easy
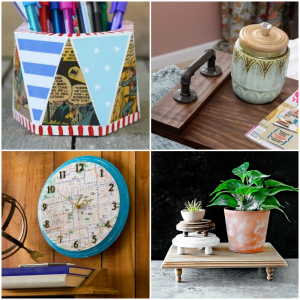
- 26 DIY Easy Things to Paint Crafts
- 14 DIY Father’s Day Printable Ideas
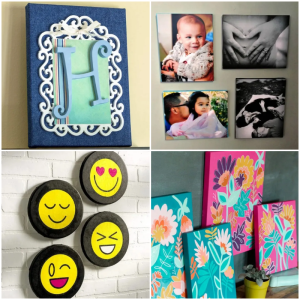
- 20 DIY Canvas Projects That Are Perfect
- 18 DIY Decorate Plates Ideas
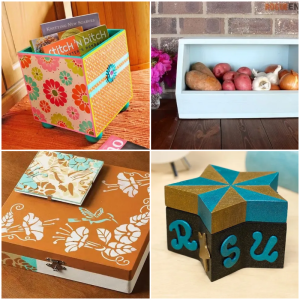
- 18 DIY Wood Box Crafts Creative And Easy
- 35 DIY Wood Crafts for Home Decor
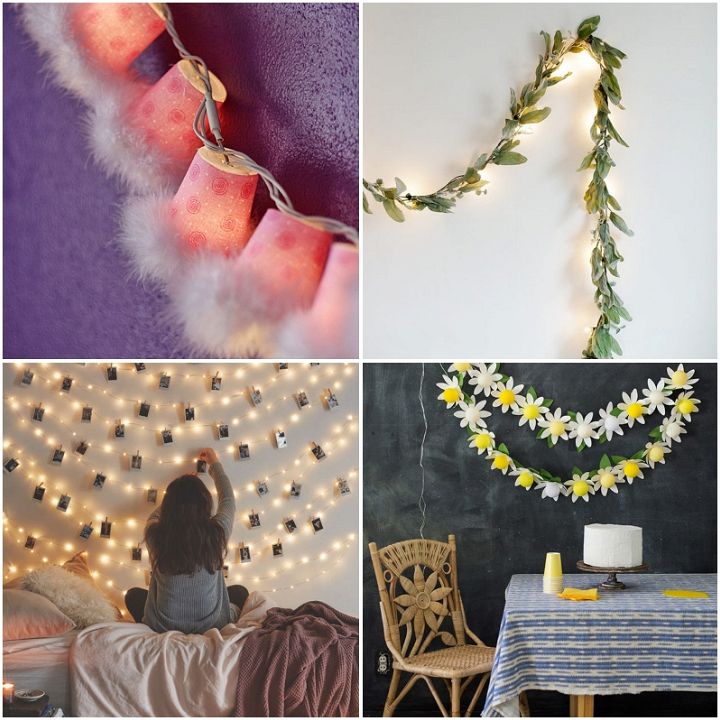
- 20 Best Ideas With String Lights That’s Fantastic
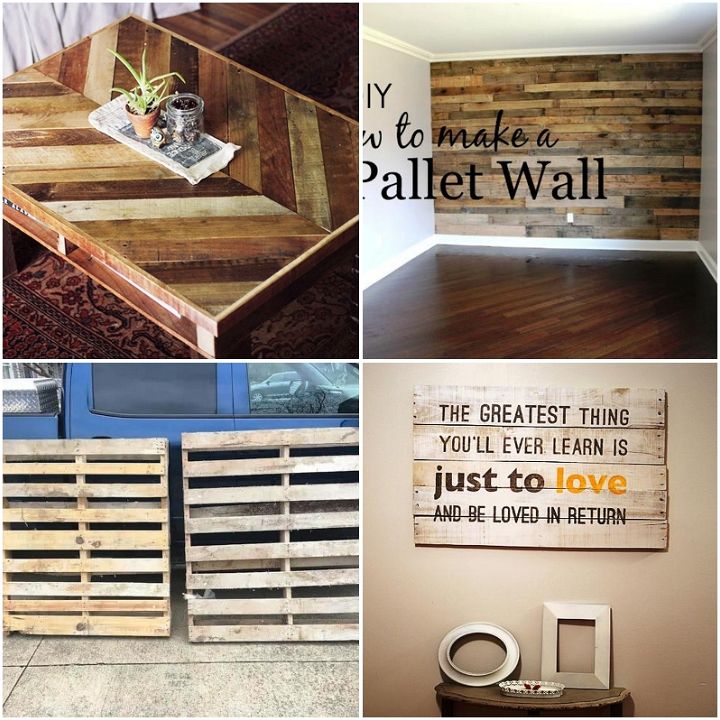
- 20 DIY Wood Pallet Art Ideas For Decor
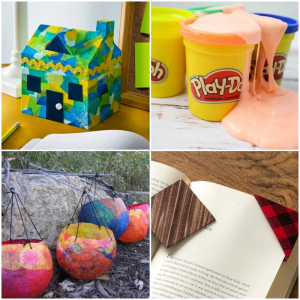
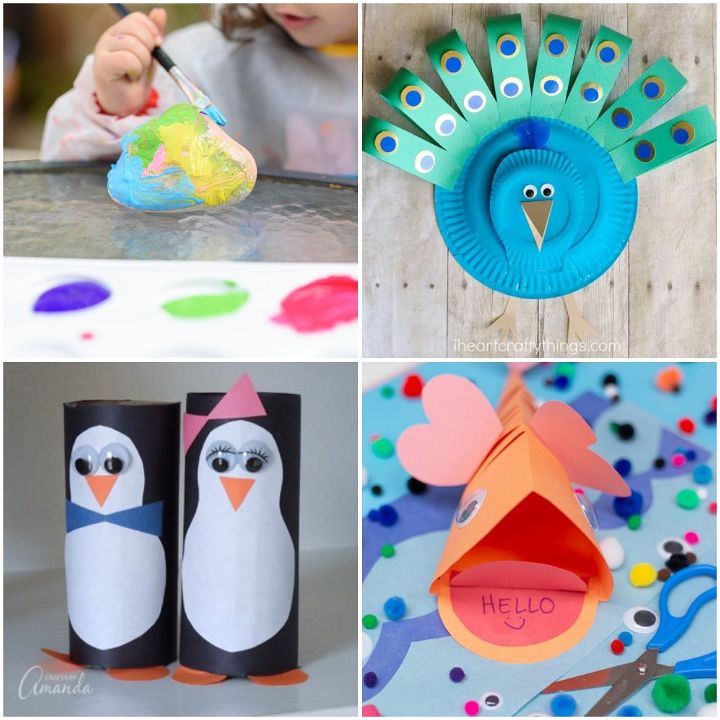
- 36 Easy Crafts For Kids When Bored At Home
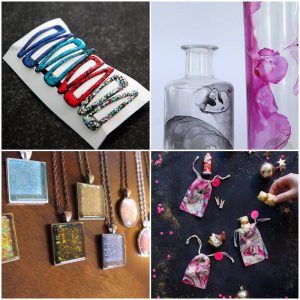
- 30 Cutest DIY Nail Polish Craft Ideas
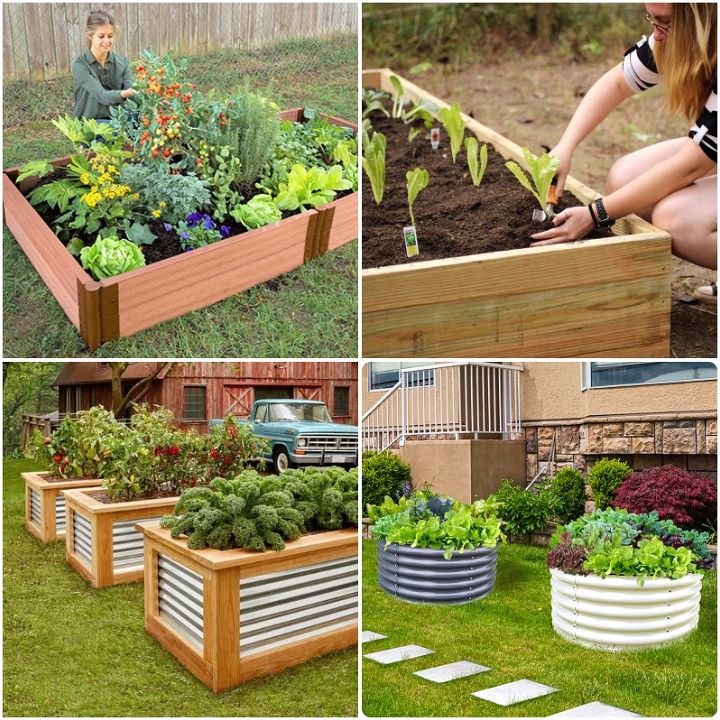
- 36 DIY Raised Garden Bed Plans And Designs
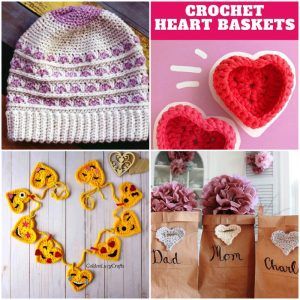
- 50 Crochet Valentine Ideas For Beginners
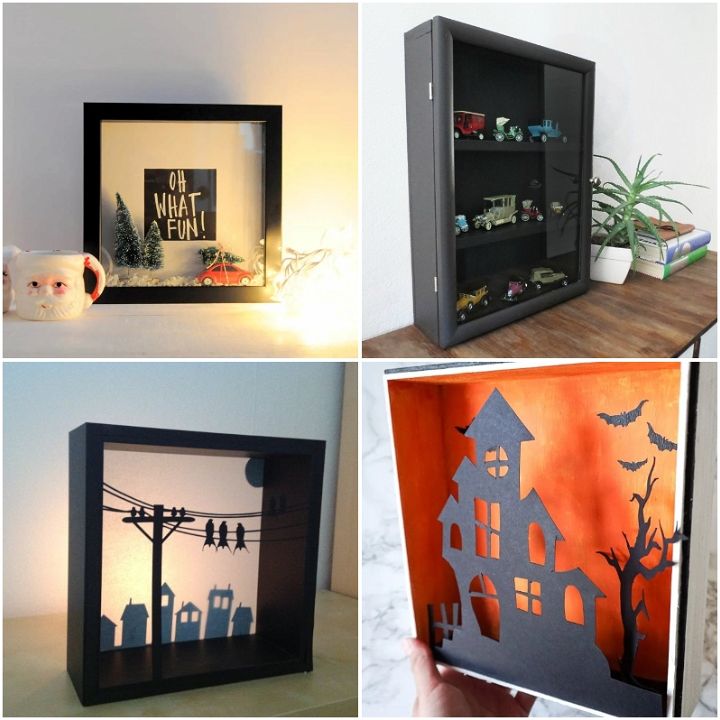
- 31 DIY Shadow Box Ideas – Homemade Box Plans
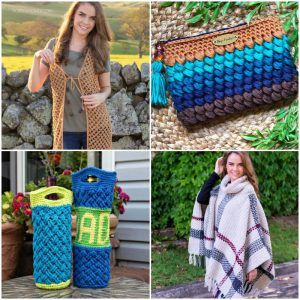
- 22 Fast and Free Crochet Gift Ideas
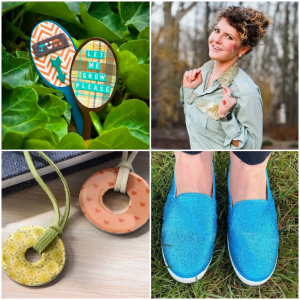
- 25 DIY Crafts For Adults To Busy In Activities
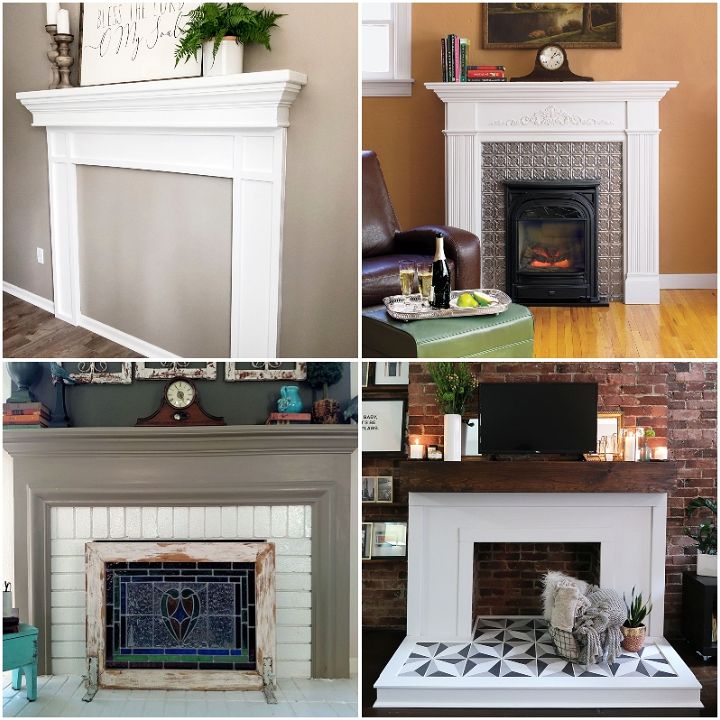
- 25 Unique DIY Fireplace Cover Ideas